
Note that you can set only the background of 2D nodes.
 , add the Background Brush property, and select the brush you created in the first step.
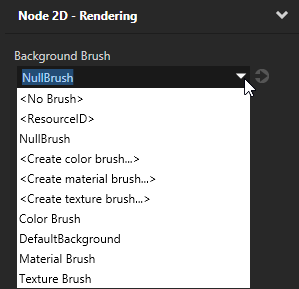
Use the Button nodes to create interactions through clicking or tapping. Use Button 3D to create a 3D button and Button 2D to create a 2D button.
When a user clicks the visual representation of a button, the action generates a message that travels to the button object where you can define the behavior for that message. When you create a button it does not have a visual shape. To make buttons visible, you have to add an object to a button.
When you create a Button node Kanzi by default adds a Button: Click message to the node. However, you can add other messages as well. For example, you can add messages that are triggered when a user presses down a mouse button or cancels a click. See Using triggers.
To learn how to create a button complete the button tutorial. See Tutorial: Creating a button.
To create a button:
Use brushes to set the background of 2D nodes. In Kanzi all 2D nodes by default have transparent background.
To set the background:
, add the Background Brush property, and select the brush you created in the first step.For details, see the API reference.
For details, see the API reference.
Using the Toggle Button Group nodes
